-
Select the Team Members tab.
Sage People displays the Team Members Home page:
-
Select New:

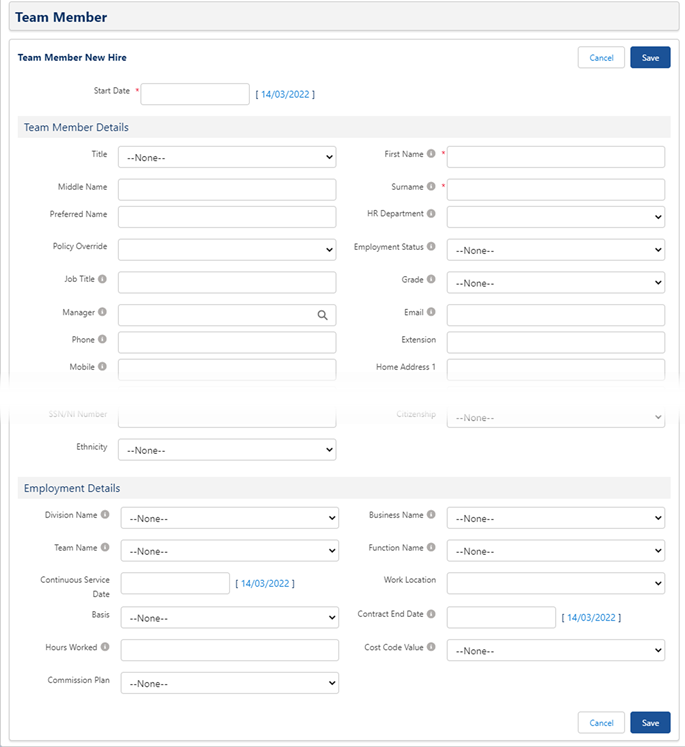
Sage People opens the Team Member New Hire page:

Fields displayed can be configured to your requirements.
Social Security Number validation can be enabled.
NoteBy default, the value of the managed package social security number field (
fHCM2__Social_Security_Number__c) is displayed in WX with the first four characters masked with asterisks (*).If you have the Single Page New Hire process enabled, Sage People displays a tabbed page enabling you to enter Team Member, Employment, Salary, Benefits, and top level Absence details.
-
Select the Start Date field to display the date picker and select the new employee's start date. This can be:
-
A past date
-
Today
-
A future date
-
-
In the Team Member Details section, complete the fields required by your organization. You must complete at least:
-
First Name
-
Surname
-
Email if you want this Team Member to use Sage People WX
If you complete the Manager field, give the name of the Team Member's primary, one up manager. If the Team Member is the CEO or equivalent, leave Manager blank.
You can also specify the Policy to be used by this Team Member; this is optional. If you do not specify a policy here, the HR Department policy is used as a default. For larger organizations with several different HR Departments operating different policies, the policy field eases the mapping between Team Member and Policy. Use Policy Lookup
 if necessary.
 -
-
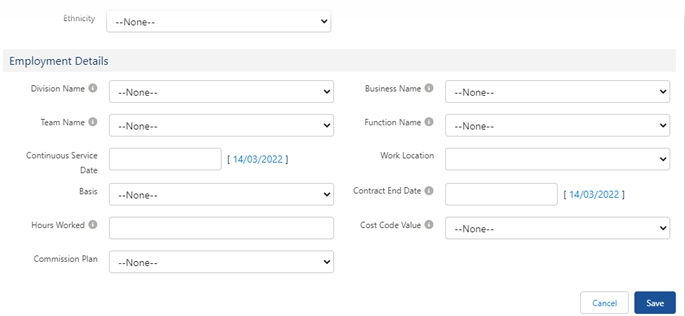
In the Employment Details section, complete the fields required by your organization:

Work Location is a required field if you want to use Social Security Number validation.
Completing fields in the Team Member Details and Employment Details sections creates a skeleton Employment Record for the new employee.
-
Select Save.