First, we will create the new form page and questions that will capture visa information from new onboarders.
Add a new question to the Passport Information page
We will begin by adding a new question to the Passport Information page: "Do you have any work visas?"
-
Open the HCM onboarding form. From the App Launcher, open HCM Form Definitions and select the "Onboarding Form".
-
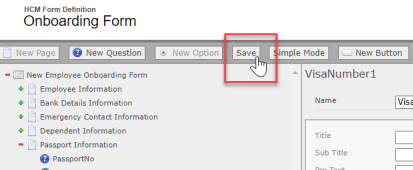
Open the visual editor: select Visual Edit.
-
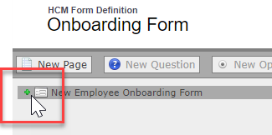
Select the plus (+) beside the form's parent element, in this case the New Employee Onboarding Form, to display the form's existing pages.
-
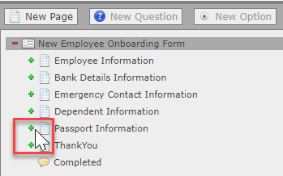
Select the plus (+) beside the Passport Information page.
-
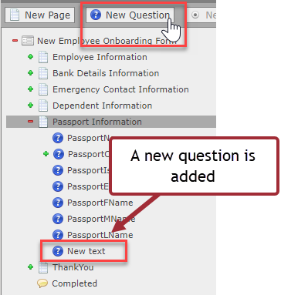
Select the Passport Information page. Select New Question to add a new question beneath the existing ones.
-
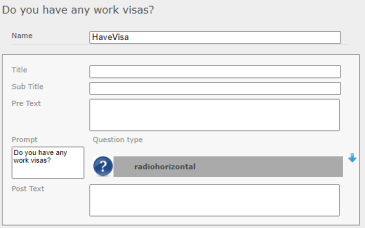
Select the new question you added. In the editor panel, complete the fields for the question:
-
Name: HaveVisa
-
Prompt: "Do you have any work visas?"
-
Question type: radiohorizontal
-
Give the question a meaningful name: question names appear in reports when reporting on the form object. Question names must not have spaces and must start with an alphabetic character. Names of questions must be unique within the page. Limited to 80 characters.
Add options to the question
-
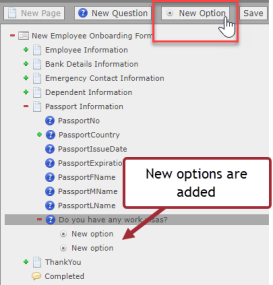
With the question selected, select New Option. Press New Option again to add a second option.
-
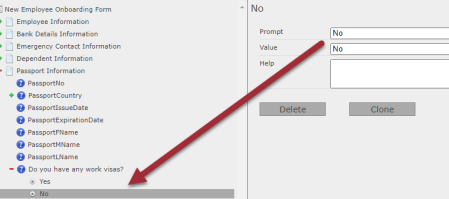
Label the options:
-
For the first option, add "Yes" as both the Prompt (the text that appears next to the option), and the Value (the text that is recorded when the option is selected).
-
Repeat this process for the "No" option.
The radiohorizontal question appears on the final form like this:
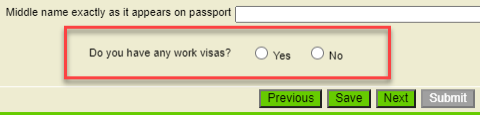
Because we did not set a default value, neither option is selected when the page is first displayed.
-
Add the Visa Information page
Next, we must create a page that will capture information about the user's visas.
-
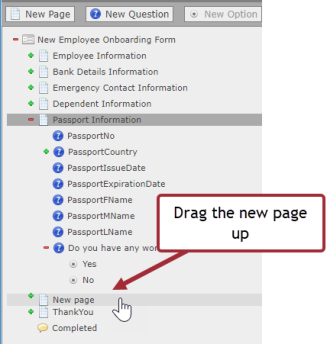
Select either a page or the form's parent element (in this case "New Employee Onboarding Form"), and select New Page.
-
A page is added beneath the existing pages. Drag the page element up so that it sits beneath the Passport Information page.
-
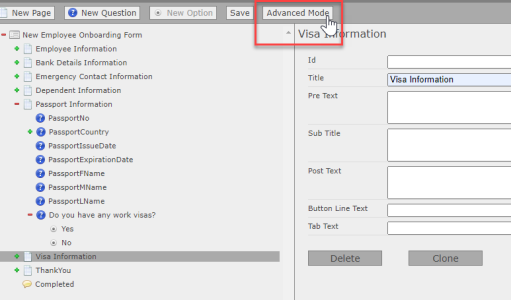
Label the page "Visa Information".
Make the Visa Information page conditional
-
With the Visa Information page selected, select Advanced Mode.
-
In the Show Page Conditions field, add a condition that displays the page only if the answer to the visa question "HaveVisa" was Yes.
Enter:
HaveVisa="Yes"
The page will be shown only to users who have selected the Yes option for the HaveVisa question.
Add questions to the page
Now we can add questions to the visas page. We'll allow for 3 visas, using the following questions for the first visa:
| Question name | Title | Prompt | Question type | Notes |
|---|---|---|---|---|
| VisaCountry1 | Visa 1 | Country | select |
Picklists such as those for countries, states, or counties can include many values, and can be difficult to enter manually. To enter long picklists with many options, you can import values from a spreadsheet editor such as Excel and paste them directly into your form's XML definition. For an illustration of how to do this, see Configuring long picklists. Begin by adding a single option: "-Please Select-". This will be the first option in the list, and will be selected by default. Add the Default option for the question as "-Please Select-". |
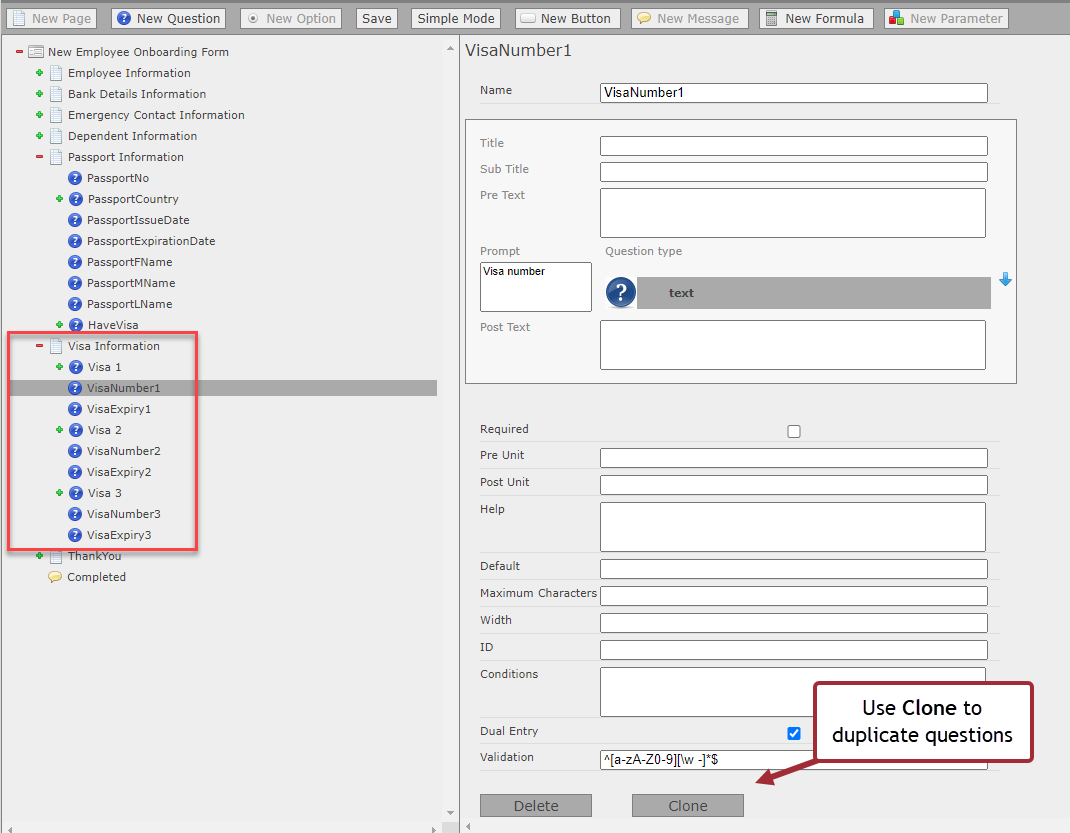
| VisaNumber1 | - | Visa number | text |
Optionally, you can add validation to the visa number text field. To require users to enter the number twice, select Dual Entry. You can also validate the text format using regex. For example, to ensure that the entry consists of only letters, numbers, spaces, and hyphens, use a regex such as:
For more information see Validation. |
| VisaExpiry1 | - | Expiry date | date |
You can add validation to the Minimum Value field to only allow expiry dates that are in the future. For example, to allow expiry dates that are at least 30 days from the current date, use "+30D". |
Use the Clone button to duplicate each question twice, and edit the Name and Title fields for the second and third questions (for example: VisaCountry2, VisaCountry3). After cloning the questions and editing their Name fields, make sure the questions appear in the correct order. Note that when cloning, the names of the cloned questions do not update in the left panel until the form is saved.
Save the form
When you have finished adding the questions, save your changes in the visual editor by selecting Save. You are taken back the Form Definition page.