Payflow | Importing a Payflow service
Payflow Services can be configured, exported, and then reimported into another org. This is typically used when complex formats have to be replicated as a starting point for further configuration - for example, with HIPAA 834 format services.
If the service includes inbound or outbound server addresses, you must delete these after import to prevent the new service attempting to send or receive data before you are ready. If you intend to use the new service with inbound or outbound server details, add the details along with username and password only when you are ready to test the data connection.
You can import .fs format files that have been exported from a Payflow implementation. The Import button is not displayed by default and must be added:
- Go to Setup > App Setup > Create > Objects
- Select the Label for the Payflow Service object.
- Select the Search Layouts link at the top of the page or scroll down to the Search Layouts section.
- Select Edit against Payflow Services List View.
Sage People displays the Edit Search Layout page.
- In the Custom Buttons section Select FS Import in the list of Available Buttons and select Add
 to move Import to the list of Selected Buttons.
 - Select Save.
To import a Payflow Service:
- Select the Payflow Services tab.
- On the Payflow Services Home page select the All View and select Go.
Sage People displays the Payflow Services List View.
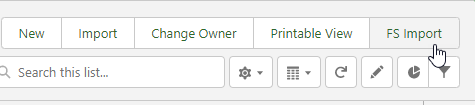
- Select FS Import:
Sage People displays the Import Data page.
- Select Choose File, find and select the file you want to import and select Open.
Sage People redisplays the Import Data page with the file name you selected for import.
- Check you have selected the correct file and select Import.
Sage People imports the file, creates the Payflow Service, and displays the Payflow Service page. Select Configure to edit the service details.
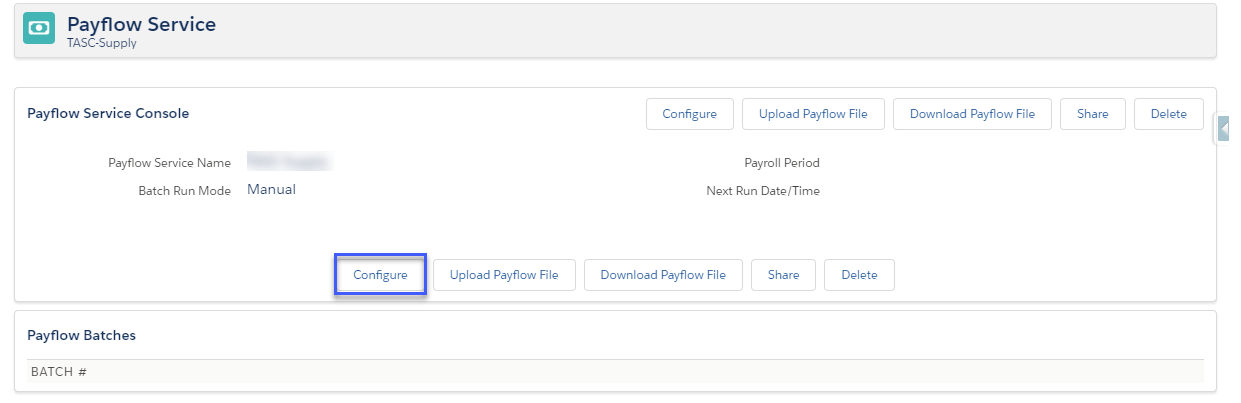
- Edit the service as required