Sage People makes extensive use of Custom Labels to simplify customization and localization of the user interface. Many field labels, error messages, and email template components are supplied as Custom Labels. While the original value of the label is preserved, you can add your own version to more closely correspond with the needs of your organization. You can store customized values for each language used by your organization, including the default language.
You need administrator level access to edit Custom Labels.
To edit a Custom Label:
-
Go to Setup > User Interface > Custom Labels.
-
The Custom Labels page defaults to display all labels.
-
You can sort on any of the displayed columns or create an alternative view.
-
Use the initial letter display options to focus your view.
-
-
Select the Name of the label you want to edit.
Sage People displays the detail page for the label.
-
In the Local Translations / Overrides section select New Local Translations / Overrides.
Sage People displays the New Translation page.
-
In the Translation Information section complete the fields as follows:
Field What to enter Language Picklist. Select the picklist and choose a language. The picklist includes the default language for your org and all other languages you have available, unless a local translation or override has already been created for this label.
To make a language available in the pickilst it must be activated in Translation Workbench > Translation Language Settings
Translation Text Text. The value you want to use for the label when displaying the language you selected. -
Select Save.
To set your Custom Label as the label name for a tab in HR Manager portal
-
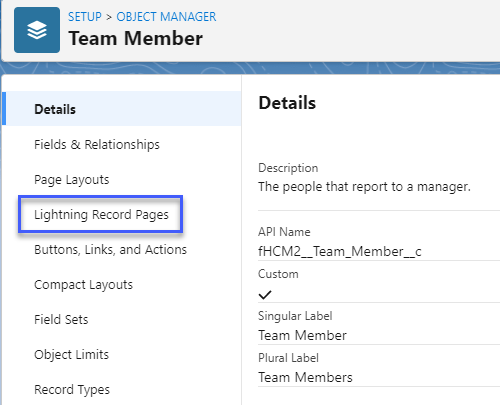
Select Setup > Object Manager
-
Select Team Member > Lightning Record Pages
-
Select Team Member Record Page
-
Select Edit
-
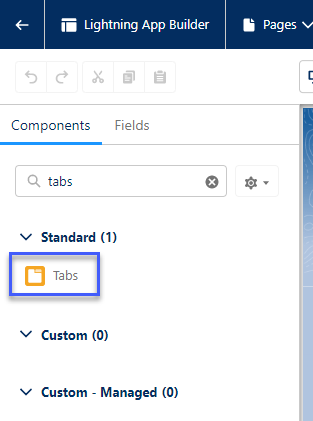
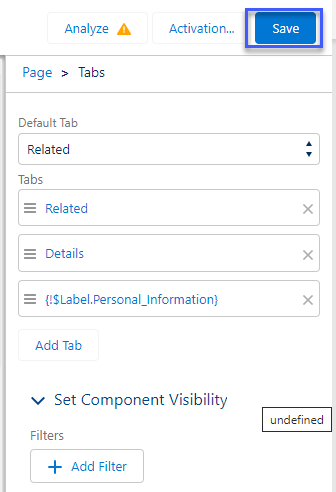
Select Tabs and add to Team Member Record Page
-
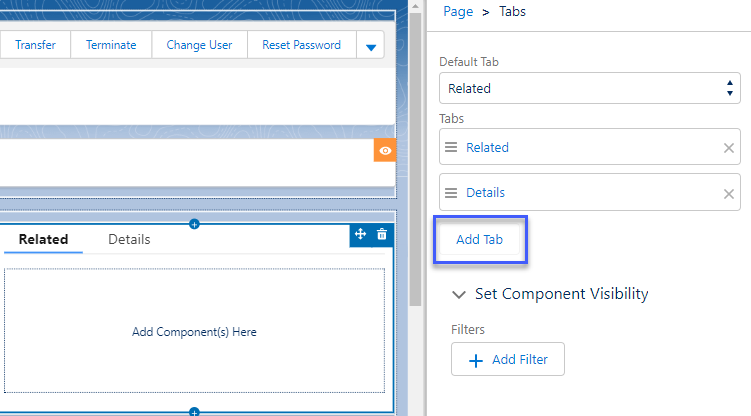
Select the Tabs box and select Add Tab
-
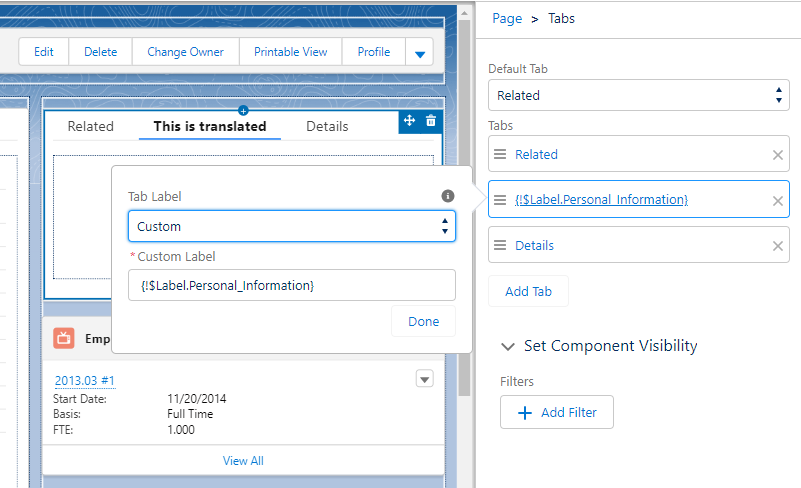
Select Custom for Tab Label and enter the Custom Label such as {!$Label.Personal_Information}
-
Select Done
-
Select Save
