US Benefits requires a dedicated WX Process to enable your employees to access their benefits options through the self-service portal.
- In the HR Manager Portal, select the WX Services tab.
- Select the WX service that you want to host the summary. This must be a WX homepage service. Or a service that hosts only Internal Communications and/or summaries.
-
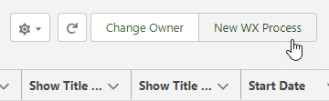
On the WX Service page, under WX Processes, select New WX Process.
-
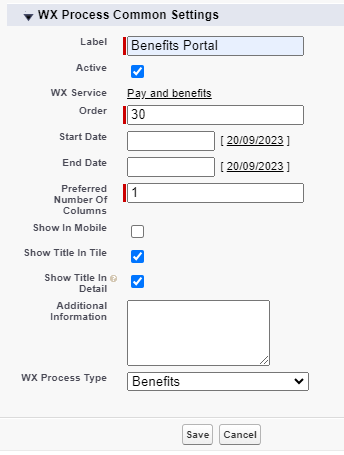
On the WX Process page, give the process a descriptive Label. The WX summary tile uses the label.
-
Give the process an Order, a numerical value with no decimal places. This defines the order in which the process is displayed in its service menu, relative to other processes.
-
Leave Show In Mobile unchecked. The US Benefits process is not currently supported for use with mobile.
-
Leave Show Title in Detail selected to display the process label as the US Benefits page title. If unchecked, the US Benefits page displays the default Custom Label US Benefits.
-
Select the WX Process Type as Benefits.
Leave the other fields blank or set at their defaults unless you have a requirement to adjust other settings for the process.
-
Select Save.