Compensation Planning uses a dedicated WX Process to display Plans to Planners. The WX Process must be hosted by a WX Service. You can set up a new WX Service to host the Compensation Planning process or add it to an existing WX Service.
Fields on the Policy page in the Compensation Plan section apply to the WX salary and bonus planning feature which has now been superseded by Compensation Planning. Compensation Plan policy fields have no effect on Compensation Planning.
Create a new WX Service
If you are creating a new service to host the Compensation Planning process:
- Select the WX Services tab.
-
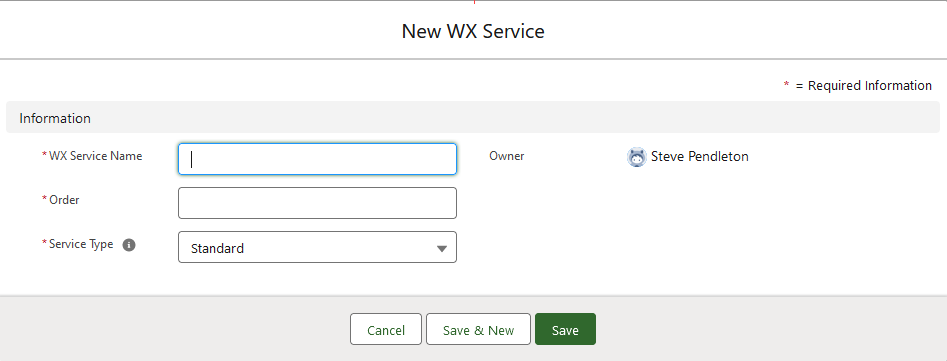
On the WX Services Home page, select New.
-
Complete the fields as follows:
Field What to enter WX Service Name The name you want to display in WX for this service. Use a name summarizing the processes grouped within it. Team Members use Service names to navigate WX and effective naming helps them find what they're looking for as quickly as possible.
For example, a service hosting the Compensation Planning process you could be called Planning tools.
Order The order in which you want this service displayed in the WX menu. Lower numbered Services are displayed above higher numbered. Use numbers making it easy to change the order and add new Services. For example use 10, 20, 30 rather than 1, 2, 3. Do not use decimal places. Service Type The type of service you want to create:
-
A Standard service appears as a menu item in WX and is used to host WX processes. This is the default setting.
-
A Profile service is used to host supported WX processes for the team member's profile page. Profile services always appear directly beneath the Actions menu item. If you have more than one service set as a Profile, only the first ordered service is used as a profile. Further profile services appear as standard services.
-
A Homepage service is used to create a landing page that hosts homepage components such as the Internal Communications carousel, time off summary, external links, and summary processes. Other types of process are not shown. We recommend you set your Homepage to appear as the first item in the navigation menu by setting its order to "1". If no service is set as a Homepage, the first standard service by order is used as the default WX homepage. If you have more than one service set as a Homepage, further homepage services appear later in the menu, beneath Actions, Profile, and My Team, according to their priority order.
Typically, for the service hosting the Compensation Planning process leave the default selection, Standard.
-
- Select Save to save the Service or Save & New to save the Service and create another service.
Add the Compensation Planning process to a WX Service
- In the HR Manager Portal, select the WX Services tab.
- Select the WX service that you want to host the summary. This must be a WX homepage service. Or a service that hosts only Internal Communications and/or summaries.
-
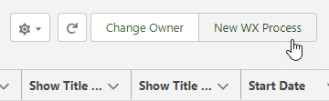
On the WX Service page, under WX Processes, select New WX Process.
-
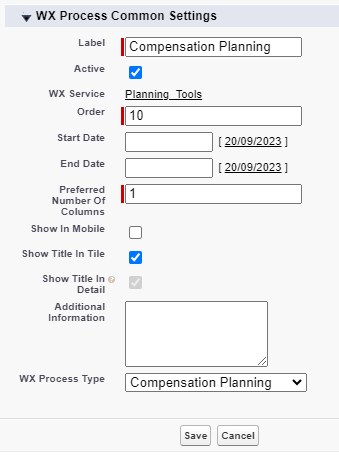
On the WX Process page, give the process a descriptive Label. The WX summary tile uses the label.
-
Give the process an Order, a numerical value with no decimal places. This defines the order in which the process is displayed in its service menu, relative to other processes.
-
Select Show In Mobile if you want the process to be available in the mobile browser version of WX. Compensation Plans typically include multiple columns and are not recommended for mobile use.
-
Select the WX Process Type as Compensation Planning.
Leave the other fields blank or set at their defaults unless you have a requirement to adjust other settings for the process.
-
Select Save.