Use the Template Generator to produce a UTF-8 encoded, field delimited file that contains the field names you want to load as your current data set.
You can then use the template as a guide when adding data records exported from your current HRIS system, or created in a text editor or compatible spreadsheet package. This data can be loaded into the Team Member, Employment Record, and Salary objects. Load current data before attempting to load history data.
You can generate a template using other methods, but the Template Generator takes care of many of the requirements for you. If you are not using the Template Generator, ensure that your files match the input file specification.
-
On the Data Loader home page, select Template Generator:

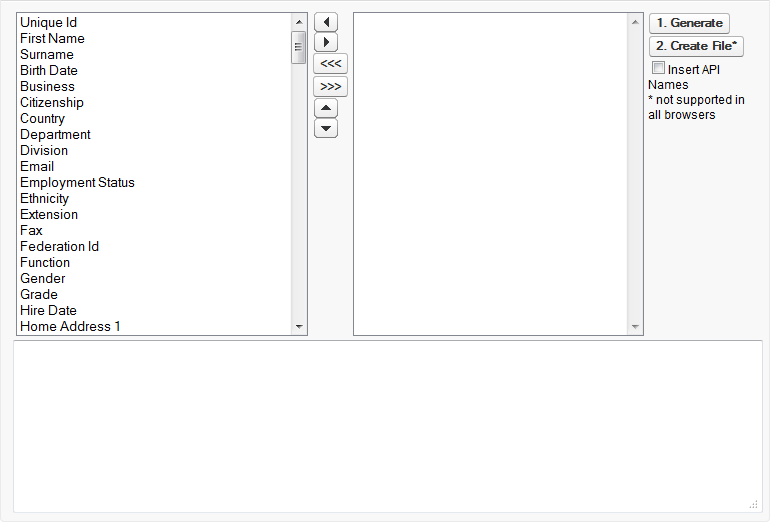
Sage People displays the field selector page:
The left panel displays all the available fields from the Team Member, Employment Record, and Salary objects.
-
Select the fields in the left panel you want to add to the template:
- Use Ctrl + select to select multiple field names.
- Use select then Shift + select to select a contiguous block of field names.
-
To add the selected fields to the right template window, select the right arrow
 .
.To add all available fields to the right template window, select the right multi-arrow
 . It is sometimes easier to add all fields and then remove the few that you do not need.
To remove fields from the right template window, select the fields and select the left arrow
 .
.To remove all fields from the right template window, select the left multi-arrow

To sort the fields in the right template window, select the field(s) to move and select the up
 or down
  arrows.
 -
To add API field names to the template file, check Insert API Names.
API names are added as a second record to the template file. This is useful to help ensure that you have selected the correct fields.
Files for loading must contain either field labels or API field names, not both. If you insert API names, make sure you remove either the field labels or the API names before attempting to upload your data file.
-
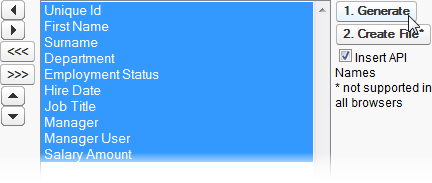
When you have added all the fields you need to the template window, select Generate to see a preview of the file:

The preview is displayed in the preview window at the bottom of the page:

To resize the preview window, select and drag the control at the bottom right of the window:

The resize feature is not supported by all browsers.
-
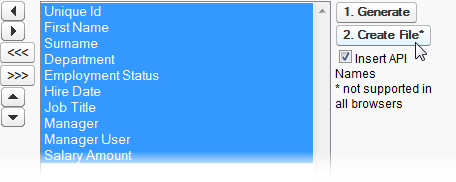
When you are sure that the preview shows the correct field content in the correct order, select Create File:

You are prompted to open or save the file.
- Select Open to view the file content in your selected application.
- Make sure that the template file is as you want it, then save the file for use as a template.
