Most of the data mapping between the systems is managed automatically, but some fields must be manually mapped because the source field varies depending on individual configurations.
Mapping data for user defined or custom fields requires configuration in both Sage People and PlanSource.
To map fields:
-
Select the App Launcher and then the Benefits(US) package.
-
Select the Mapping tab.
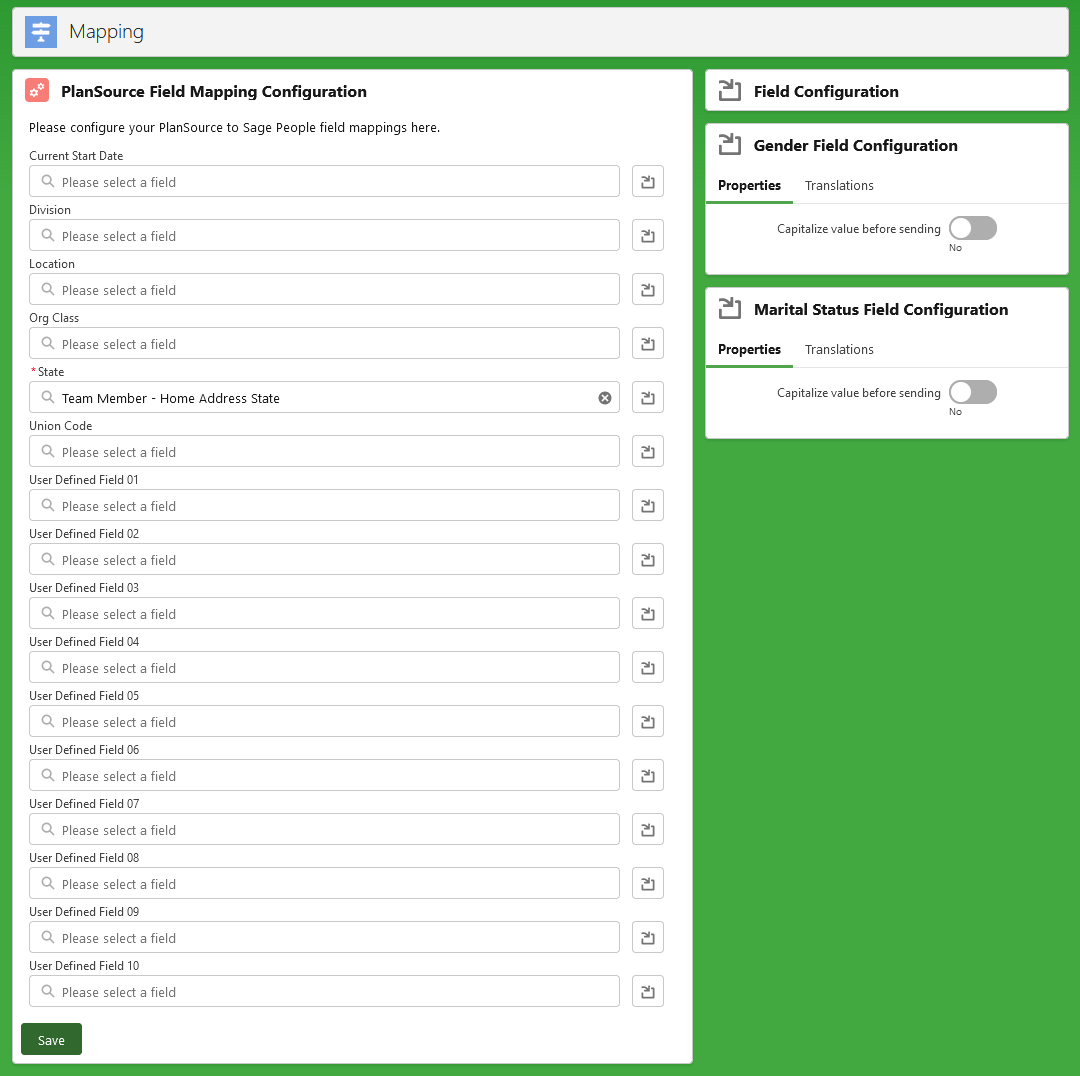
Sage People displays the Mapping page:
-
Choose the field you want to map and select the input field to display a picklist of available source fields. You can map to source fields on the Team Member and Employment Record objects. You cannot change the data type or transform the value.
Current Start Date enables you to map a field holding a re-hire date to the PlanSource API hire date field. This is optional, but needed if your organization does not create a new Employment Record for each re-hire and wishes to calculate benefits based on the re-hire date. If the original Employment Record is retained, by default the employee's original Start Date is mapped to the PlanSource API hire date field.
-
Select the source field.
-
Repeat to configure all the mappings you want to define.
Values for these fields:
- Division
- Location
- Org Class
- Union Code
relate to PlanSource Employee Groups, along with the fixed field mapping for Sage People Basis to PlanSource Employment Level:
Sage People field
PlanSource API field PlanSource Employee Group division division Division location location Location orgClass org_class Class unionCode union_code Union fHCM2__Basis__c (Employment Record object) employment_level Employment Level If the PlanSource environment uses these fields, the mappings are recorded in Configuration > Employee Groups.
-
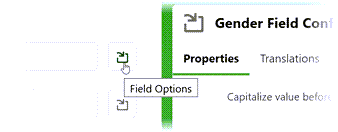
To further configure the field properties or add translations, select Field Options to the right of each field:
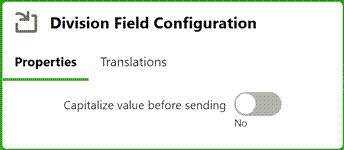
This expands the display of the Field Configuration dialog for the selected field:
Use Capitalize value before sending to convert a lower case or mixed case value to the all CAPITALS value required by PlanSource.
-
PlanSource has specific requirements for gender and marital status fields:
-
Gender must be M, F, U, or X.
U and X are not supported by all carriers - make sure the value you supply is supported.
-
Marital status must be S, M, or U.
If the Sage People values for gender or marital status do not match the PlanSource values, add a translation:
-
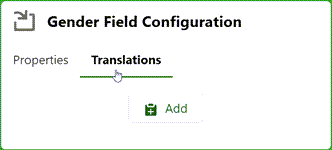
Select the appropriate Translations tab:
-
Select Add
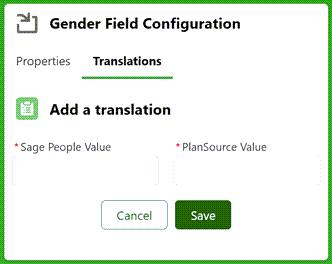
Sage People expands the display:
-
Enter the Sage People and PlanSource values.
-
Select Save.
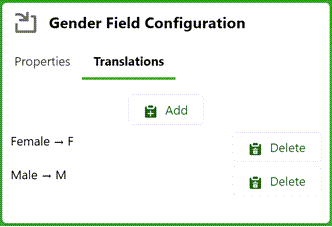
The value is added with a Delete option enabling you to correct a translation pair.
-
Add all required values:
-
-
Select Save.
Configuration for user defined or custom fields
-
Add the necessary fields to the Sage People mapping as PlanSource udef__1, udef__2, and so on.
-
In PlanSource, for the udef__n fields update:
-
Data Field Captions
-
Data Field Security
for Update All, Subscriber, and Import.
-
